[wesbos30] 26. 동적인 드롭다운 Nav
약 3분 소요
![[wesbos30] 26. 동적인 드롭다운 Nav](https://firebasestorage.googleapis.com/v0/b/cruz-lab.firebasestorage.app/o/images%2Fheroes%2Fhero-1764850059452.webp?alt=media&token=9fc74208-4e76-45cf-828b-2767dea61eb9)
💡 챕터22 Following Highlight에서 배운 내용을 활용하여 메뉴에 마우스를 올리면 흰 배경의 드롭다운 메뉴가 나오는 기능을 구현해보자!
로직
- 상수 선언
- 모든
<li>태그에 마우스이벤트에 대한 이벤트 핸들러 할당 - class를 추가/제거하여 드롭다운 메뉴 보이고 안보이고를 제어
- 드롭다운 메뉴의 위치를 구해 흰 배경 적용
코딩 과정
1. 상수 선언
//Nav안의 모든 <li>태그에 이벤트를 걸어줘야한다.
const triggers = document.querySelectorAll('.cool > li')
//드롭다운을 따라다닐 흰 배경
const background = document.querySelector('.dropdownBackground')
2. 마우스 이벤트 & 이벤트 핸들러
function handleEnter() {
  console.log('mouseenter!!!')
}

function handleLeave() {
  console.log('mouseleave!!!')
}

triggers.forEach(trigger => trigger.addEventListener('mouseenter', handleEnter))
triggers.forEach(trigger => trigger.addEventListener('mouseleave', handleLeave))
3. 드롭다운 메뉴 제어
function handleEnter() {
  this.classList.add('trigger-enter')
  setTimeout(
    () =>
      this.classList.contains('trigger-enter') &&
      this.classList.add('trigger-enter-active'),
    150,
  )
}

function handleLeave() {
  this.classList.remove('trigger-enter', 'trigger-enter-active')
  background.classList.remove('open')
}

triggers.forEach(trigger => trigger.addEventListener('mouseenter', handleEnter))
triggers.forEach(trigger => trigger.addEventListener('mouseleave', handleLeave))
CSS 코드
.trigger-enter .dropdown {
  display: block;
}

.trigger-enter-active .dropdown {
  opacity: 1;
}
setTimeout 걸어주기
function handleEnter() {
  this.classList.add('trigger-enter')
  this.classList.add('trigger-enter-active')
}
⚠️ 위에 코드대로 작성할 경우 display : block 효과에는 transition이 걸리지 않는다.
따라서 setTimeout을 사용하여 block과 opacity 효과 사이에 약간의 텀을 두어 자체적인 transition 효과를 만든다.
4. 위치 계산 후 배경 적용
//
const nav = document.querySelector('.top')

function handleEnter() {
  this.classList.add('trigger-enter')
  setTimeout(
    () =>
      this.classList.contains('trigger-enter') &&
      this.classList.add('trigger-enter-active'),
    150,
  )
  background.classList.add('open')

  const dropdown = this.querySelector('.dropdown')
  const dropdownCoords = dropdown.getBoundingClientRect()
  const navCoords = nav.getBoundingClientRect()

  const coords = {
    width: dropdownCoords.width,
    height: dropdownCoords.height,
    top: dropdownCoords.top - navCoords.top,
    left: dropdownCoords.left - navCoords.left,
  }

  background.style.setProperty('width', `${coords.width}px`)
  background.style.setProperty('height', `${coords.height}px`)
  background.style.setProperty(
    'transform',
    `translate(${coords.left}px, ${coords.top}px)`,
  )
}
💡
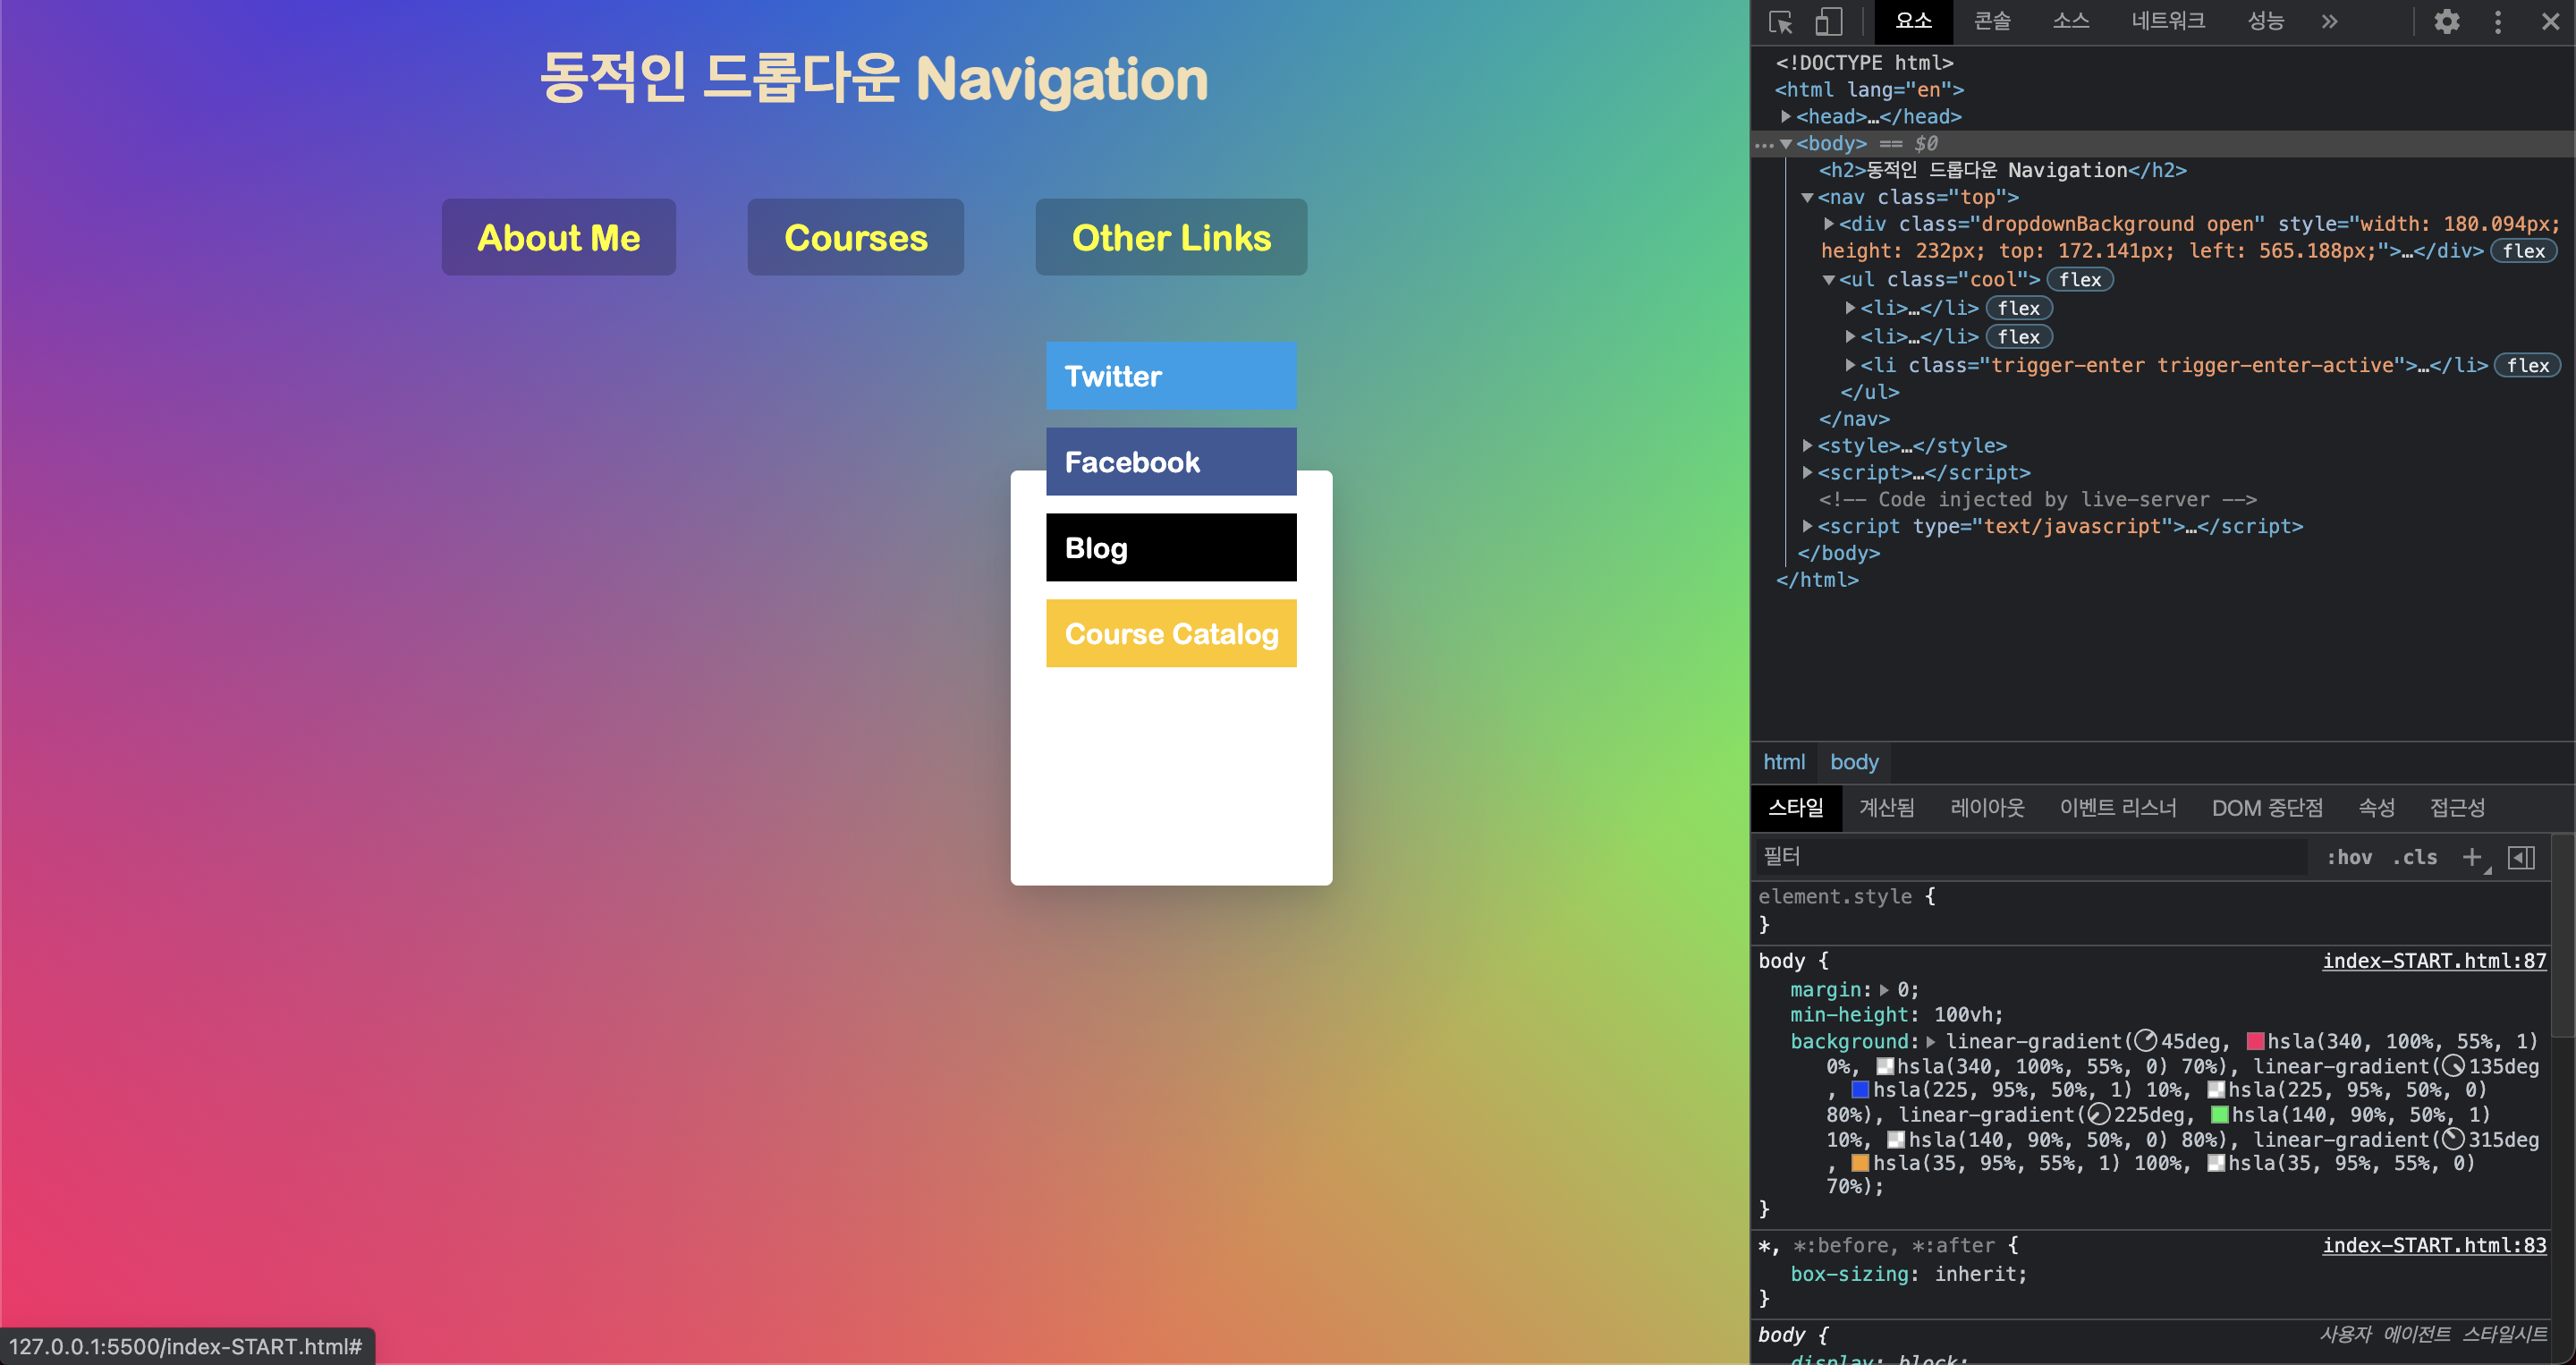
<nav>의 뷰포트 위치를 고려해 주자!
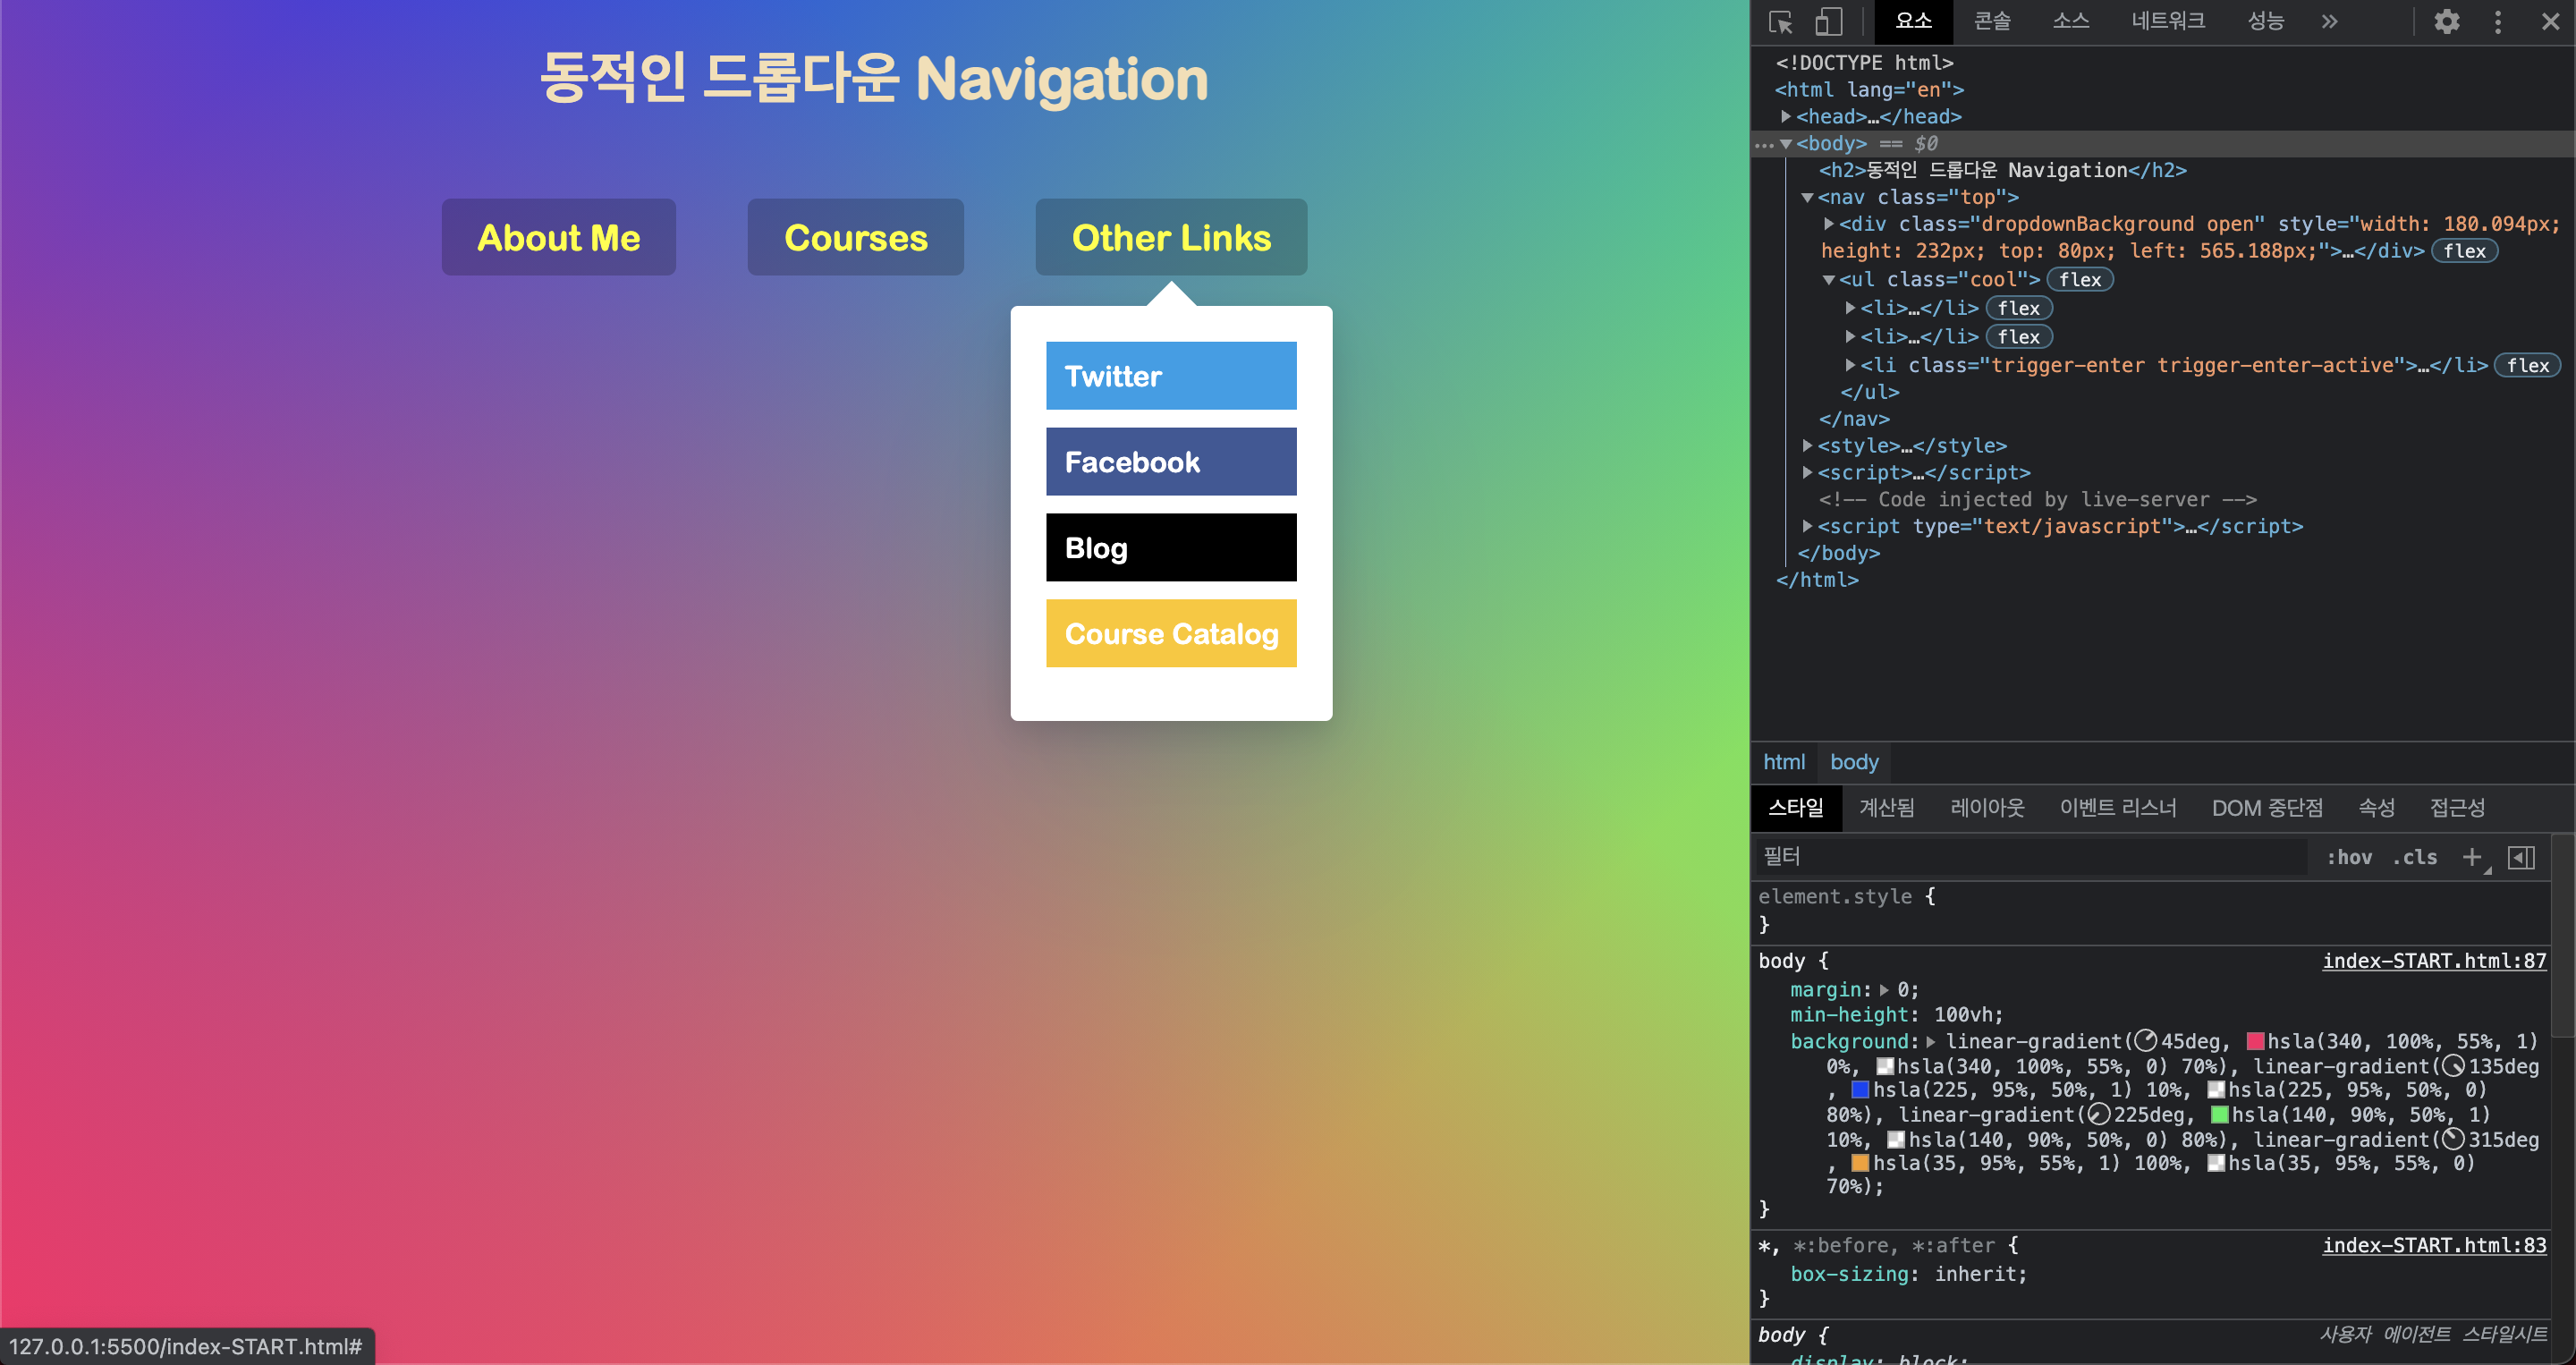
배경을 움직일 때 top과 left를 단순히 dropdownCoords.top , dropdownCoords.left 만큼 움직일 경우 배경이 드롭다운을 벗어나게 된다.
getBoundingClientRect()에서 top과 left값은 뷰포트를 기준으로한 위치값이다.
하지만 우리가 적용하고자하는 흰 배경은 움직일 때 뷰포트가 아니라 부모 요소인 <nav>태그를 기준으로 움직인다.
즉 페이지 왼쪽 상단에서부터 움직이는게 아니라 <nav>의 왼쪽 상단에서부터 움직이므로
<nav>의 뷰포트 위치값을 빼준만큼 움직여야 제대로 드롭다운 메뉴를 감쌀 수 있다
최종 완성 코드
const triggers = document.querySelectorAll('.cool > li')
const background = document.querySelector('.dropdownBackground')
const nav = document.querySelector('.top')

function handleEnter() {
  this.classList.add('trigger-enter')
  setTimeout(
    () =>
      this.classList.contains('trigger-enter') &&
      this.classList.add('trigger-enter-active'),
    150,
  )
  background.classList.add('open')

  const dropdown = this.querySelector('.dropdown')
  const dropdownCoords = dropdown.getBoundingClientRect()
  const navCoords = nav.getBoundingClientRect()

  const coords = {
    width: dropdownCoords.width,
    height: dropdownCoords.height,
    top: dropdownCoords.top - navCoords.top,
    left: dropdownCoords.left - navCoords.left,
  }

  background.style.setProperty('width', `${coords.width}px`)
  background.style.setProperty('height', `${coords.height}px`)
  background.style.setProperty(
    'transform',
    `translate(${coords.left}px, ${coords.top}px)`,
  )
}

function handleLeave() {
  this.classList.remove('trigger-enter', 'trigger-enter-active')
  background.classList.remove('open')
}

triggers.forEach(trigger => trigger.addEventListener('mouseenter', handleEnter))
triggers.forEach(trigger => trigger.addEventListener('mouseleave', handleLeave))